
Grandma Inez's Pineapple Pie and Crust Tutorial
Crust
1 1/4 C of all purpose flour
1/4 tsp of salt
1 Tbsp of sugar
1 stick of butter
1/4 cup to 1/2 Cup of ice cold water
It is very important that both the water and butter are super cold. If the butter is all melty, your crust won't be as flaky in the end.
Step 1: Combine flour, salt, and sugar in a bowl. So far, so good, right?

Step 2: Cut the butter into chunks and plop them into the flour mixture. At this point you can use a food processor to mix these ingredients until you get a cornmeal-like texture. I always do this by hand. Mostly because I don't have food processor...but I like to think that this makes it taste better (because of love, or whatever). Actually, the real reason is that, by hand, I am more likely to leave larger chunks of butter. Towards the end, when you are rolling the dough, this butter will "marble" with the rest of the dough, making the end result MORE FLAKY.
Step 3: Add water, in increments, and form a ball. The ball should be a little sticky, just a little. Refrigerate this for about half an hour.


Step 4: Remove from the fridge and roll out with a rolling pin, or any long, cylindrical object (I have used a wine bottle in the past).Make sure to flour the rolling pin, dough, and counter surface liberally, or else you'll have a heck of a time getting that dough off the counter. And, not to insult your intelligence, but make sure to roll out the dough so it covers the pie dish, with some hanging over.


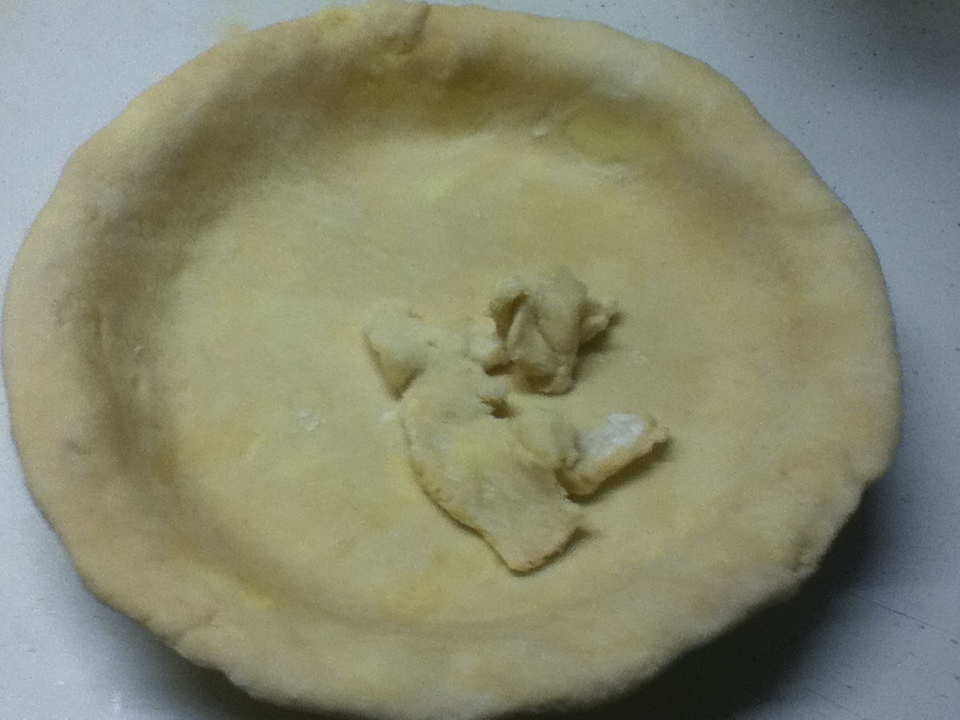
Step 5: Place the dough on the dish. Tuck in the edges for a neat look and style them for effect. My favorite technique is to crimp the edges using a pinching method with the pointer and thumb of my left hand, and the thumb of my right hand. Braids are also very nice, but time consuming. Maybe I'll do a post on that later.


Step 6: Poke the bottom of dish with a fork several times and put in the freezer for AT LEAST a half hour, preferably an hour. Crusts will keep for a few weeks if you want to make them ahead of time.


Step 7: Ta da! Now fill the inside!
1 1/4 C of all purpose flour
1/4 tsp of salt
1 Tbsp of sugar
1 stick of butter
1/4 cup to 1/2 Cup of ice cold water
It is very important that both the water and butter are super cold. If the butter is all melty, your crust won't be as flaky in the end.
Step 1: Combine flour, salt, and sugar in a bowl. So far, so good, right?
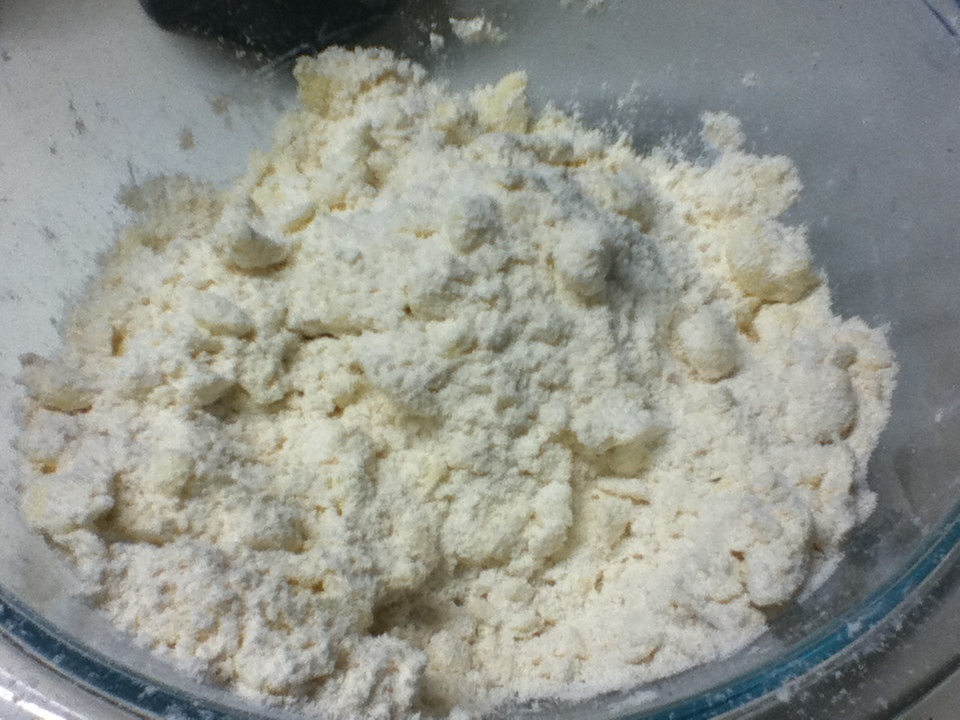
Step 2: Cut the butter into chunks and plop them into the flour mixture. At this point you can use a food processor to mix these ingredients until you get a cornmeal-like texture. I always do this by hand. Mostly because I don't have food processor...but I like to think that this makes it taste better (because of love, or whatever). Actually, the real reason is that, by hand, I am more likely to leave larger chunks of butter. Towards the end, when you are rolling the dough, this butter will "marble" with the rest of the dough, making the end result MORE FLAKY.
Step 3: Add water, in increments, and form a ball. The ball should be a little sticky, just a little. Refrigerate this for about half an hour.


Step 4: Remove from the fridge and roll out with a rolling pin, or any long, cylindrical object (I have used a wine bottle in the past).Make sure to flour the rolling pin, dough, and counter surface liberally, or else you'll have a heck of a time getting that dough off the counter. And, not to insult your intelligence, but make sure to roll out the dough so it covers the pie dish, with some hanging over.


Step 5: Place the dough on the dish. Tuck in the edges for a neat look and style them for effect. My favorite technique is to crimp the edges using a pinching method with the pointer and thumb of my left hand, and the thumb of my right hand. Braids are also very nice, but time consuming. Maybe I'll do a post on that later.


Step 6: Poke the bottom of dish with a fork several times and put in the freezer for AT LEAST a half hour, preferably an hour. Crusts will keep for a few weeks if you want to make them ahead of time.


Step 7: Ta da! Now fill the inside!


No comments:
Post a Comment